Energy Saving Tips for Your Appliances
Energy Saving Tips for Your Appliances
Energy is expensive and using too much can be bad for the planet, so if you want to save money and be more eco-conscious, then stick around for this article on saving energy with your appliances.
Energy Saving Tips for Your Appliances
With energy prices soaring in recent times, we thought it was the perfect time to share some tips on how to save energy with your appliances. For all of these – if you are on an Economy 7 or 10 energy system they should make sure you use your appliances when they are on the “Cheap Rate†(You should contact your energy provider if you are unsure, and check your peak and off-peak hours).
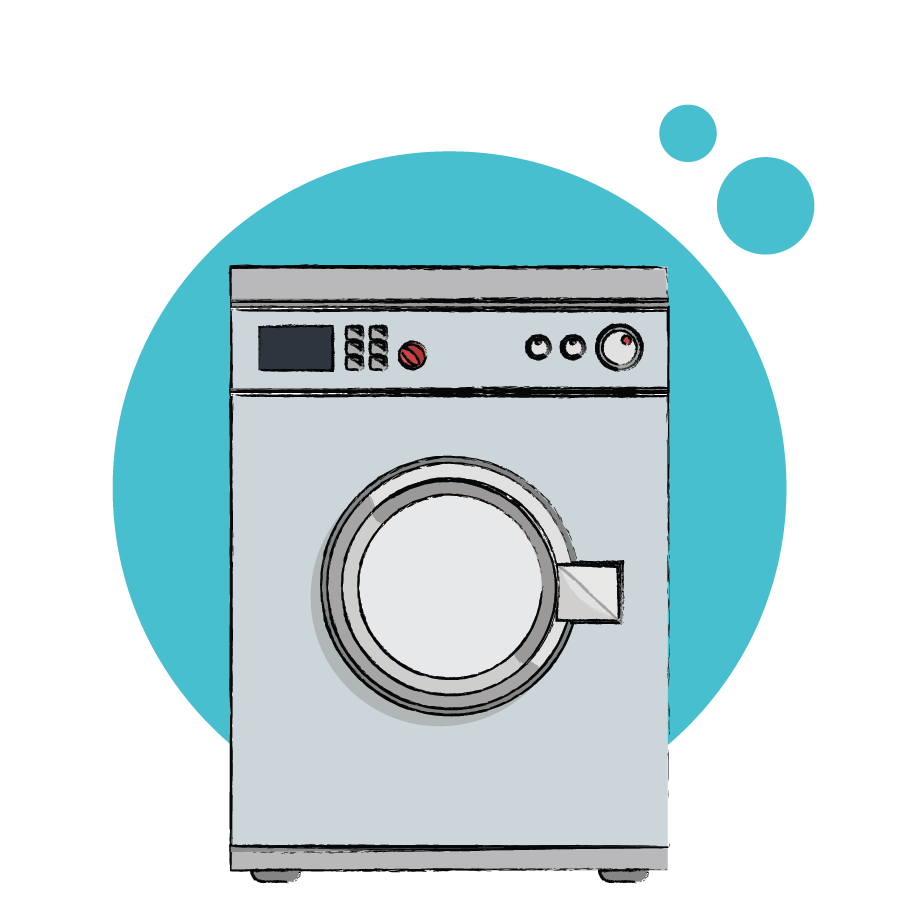
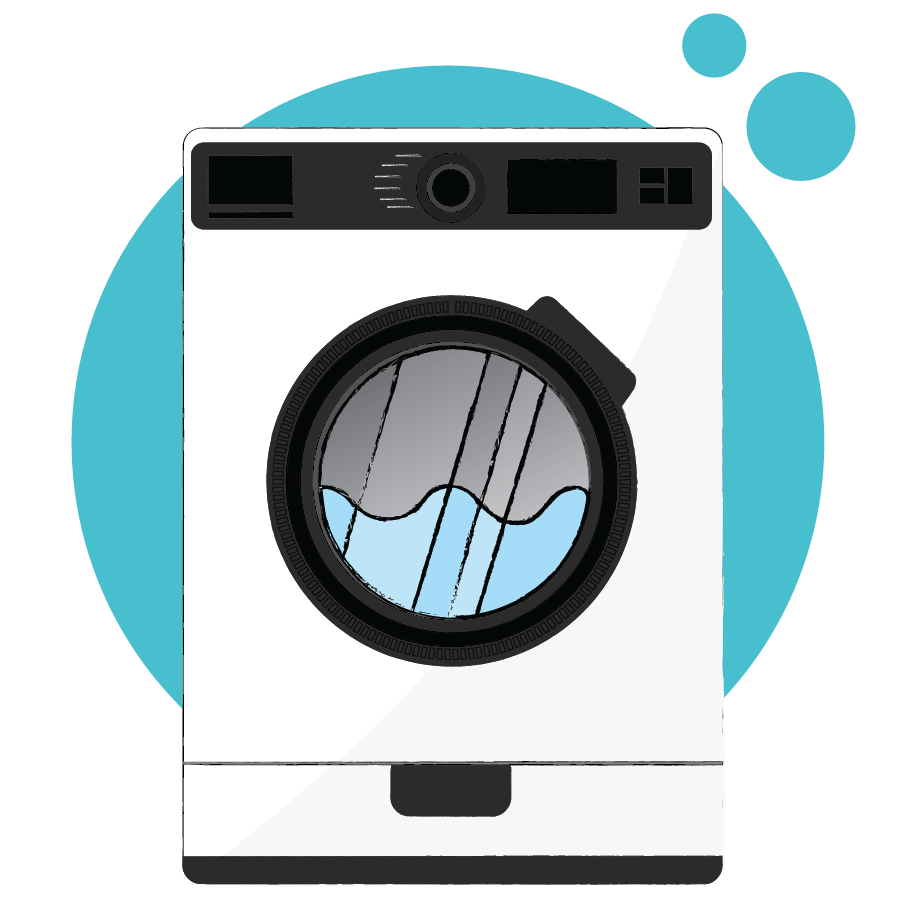
Washing Machine
- Wait until you have a full load of washing – your washing machine will use the same energy whether you have 1 item or 50 items in the drum.
- Use a lower heat for your wash. 30 degrees is the most efficient, or if you have an ECO cycle, then use that.ÂÂ
- Use a shorter cycle if you can, the less time the machine is running, the less energy used.
- If you have a really dirty wash, pre soak the clothes and they should clean more easily, meaning you can shorten the wash cycle.ÂÂ
Tumble Dryer
- Air dry your clothes whenever you can as tumble dryers generally consume a lot of energy when running.
- Clean your filters regularly – ideally after each use. This will ensure your tumble dryer is working as efficiently as possible.
- Make sure you untangle your washing when you put it in the dryer – it takes longer to dry washing that is tangled.
- If you have multiple loads of washing to dry try and do them one after the other as you can take advantage of the residual heat in the dryer.
- Use a speedy spin cycle on your washing machine to get as much water out of the clothes as possible.
- Make sure you use the correct cycle on the tumble dryer, for the clothes you are trying to dry.
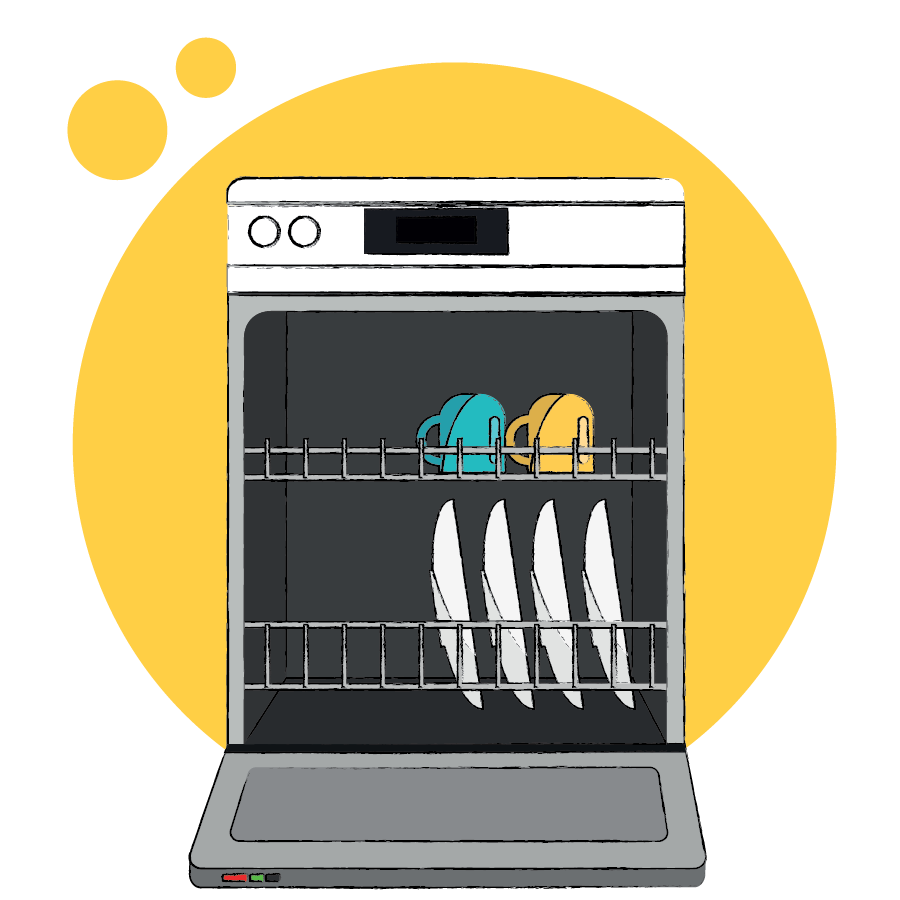
Dishwasher
- Rinse your dishes beforehand and use a lower temperature cycle.
- Make sure your dishwasher is full before switching it on – it uses the same energy whether you have 1 plate in it, or 30 plates, but be careful you don’t overload it.
- Use a quality detergent.
- Use a limescale cleaner once a month, and make sure the salt reservoir is regularly replenished (if applicable).
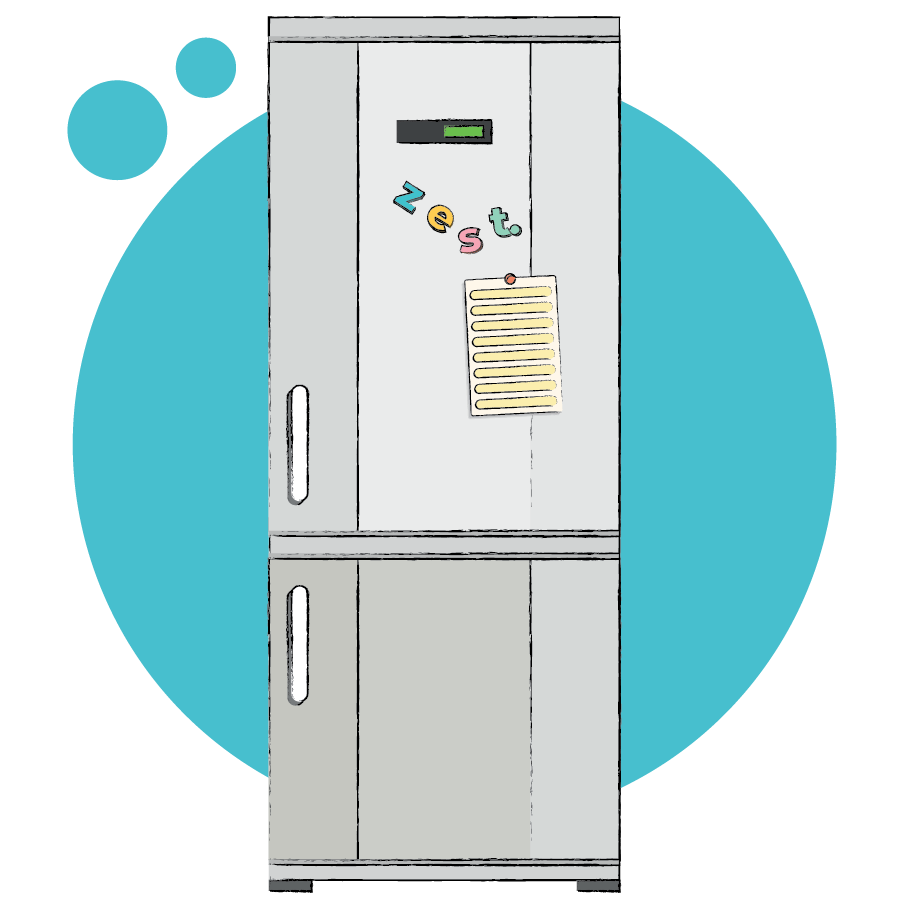
Fridge
- Make sure you allow food to cool down before placing it in the fridge
- Regularly check to ensure your fridge seals are intact
- Don’t leave the door open too long
- Ensure the temperature is between 3 and 5
- Clean the coils at the back each month to ensure the fridge is efficient, and ensure the waste pipe is clean and not blocked
- Ensure there is a decent gap between the back of the fridge and the wall – this gives the coils and the motor some breathing room and helps them work efficiently
Freezer
- Regularly check the seals on the freezer are in good condition
- Make sure you never put warm food in the freezer, as this causes the freezer to work harder, costing more money
- Full Freezers work more efficiently than half full ones – so have some frozen water bottles in the freezer to fill it up or newspaper
- Make sure the temperature is set correctly
- Defrost your Freezer every 6 months – there should be less than 5mm of ice build upÂÂ
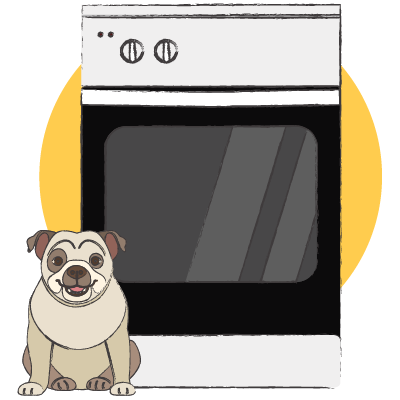
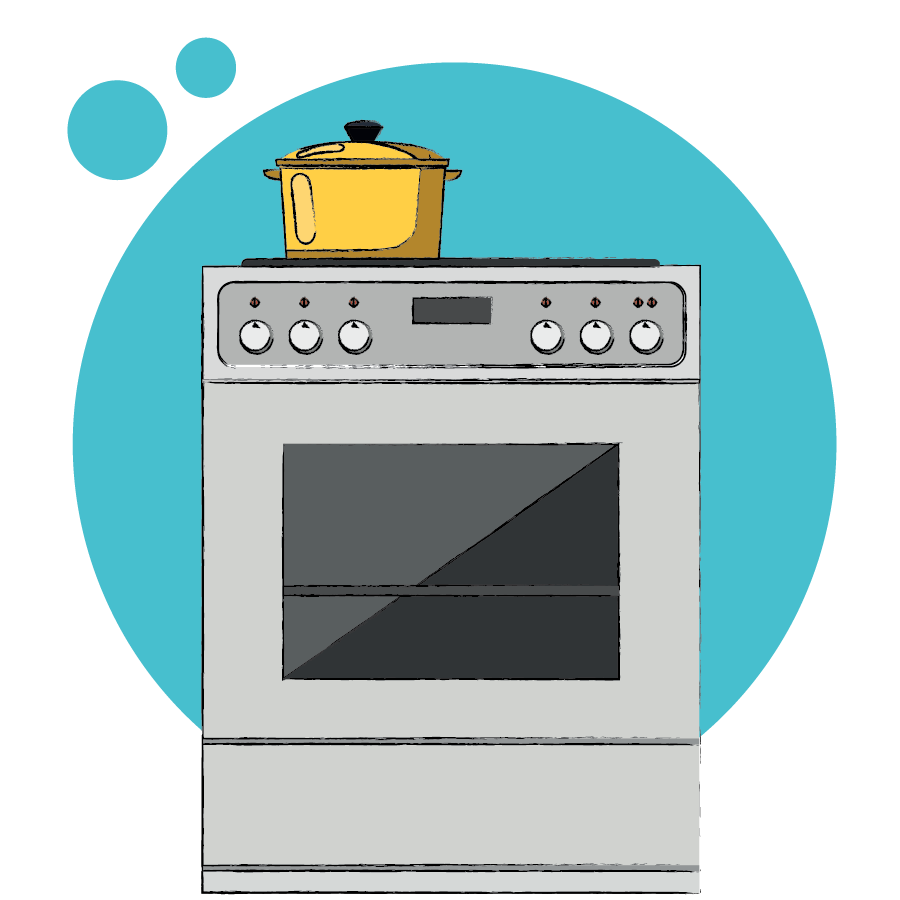
Oven
- Cook multiple things at once – your oven is pretty big, use the space to avoid having to use it again later
- Open the door as little as possible when cooking – it let’s all the hot air escape, meaning your oven has to work harder
- Clean your oven regularly – this ensure the heat goes straight to your food and not on nasty burnt sides
- Glass and Ceramic dishes hold heat much better than metal ones, so try and use these as much as possible
- Try and cook fresh or defrosted foods rather than frozen ones, as this takes less time = less energy!
Television
- Switch your TV to an Energy-saving mode – or Eco Mode. This will lower the amount of energy used
- If you have a newer tv it will only use a minimal amount of energy in standby mode – but if you have an older tv you will want to avoid leaving it in standby mode, as this uses energy more energy. Switching it off completely is better
- Switch the tv off when nobody is in the room, and use a radio for something in the background
- Consider using a tablet when watching tv or movies, as they use a lot less energy
- Turn the brightness of your screen down
- Glass and Ceramic dishes hold heat much better than metal ones, so try and use these as much as possible
- Try and cook fresh or defrosted foods rather than frozen ones, as this takes less time = less energy!
Best Energy Efficient Portable Heaters
Portable heaters can be expensive to run – so they should only be used as a supplementary measure, to complement the central heating system.
There are 5 types of portable heaters: Bar Fire, Convector Heater, Oil-Filled Radiator, Fan Heater, and Halogen Heater.
It is important you use the right type of heater for the area you are trying to heat. If you are looking to heat a room for a few hours or more then you should look to use a convector heater or an oil-filled radiator. These heaters usually have a thermostat which helps you ensure the rooms does not overheat and saves money. They also hold heat (particularly Oil Filled Radiators) meaning you don’t have to run them for so long.
If you are only looking to heat your room for a short period of time, then you are better off using a radiant heater, such as a Bar Fire, Fan Heater, or Halogen Heater, as they heat up much quicker and provide an immediate heat boost.
Fan heaters can be costly to run, as well as noisy, and they can fry the air out in your room, and Bar Fires can be inefficient – our preference would be to use a halogen Heater – they are widely known to be more cost-efficient, and many have an oscillation feature which helps you heat the room more evenly.
If you are on Economy 7/10 then avoid using your heaters during peak hours – as this can be considerably more expensive than off-peak. Check with your energy provider if you are unsure if you are on E7/10, and what your off-peak hours are.
Our Latest Articles
Whether you’re looking to buy new or need help with caring for existing appliances our experts are here to answer your questions with useful guides and articles.